HANDS ON: The Micro 3D Beta Software Installation & Setup
Adam Milton-Barker | Jan 7, 2015 | 3D Printing and Scanning | 6997In 2014 I backed the Micro 3D Printer, the worlds first consumer 3D printer... (The following links have been relocated to a new blog category so the share history was unfortunately lost.)
TechBubble Weekly: The Micro 3D Printer
Micro 3D August Tier Production Update
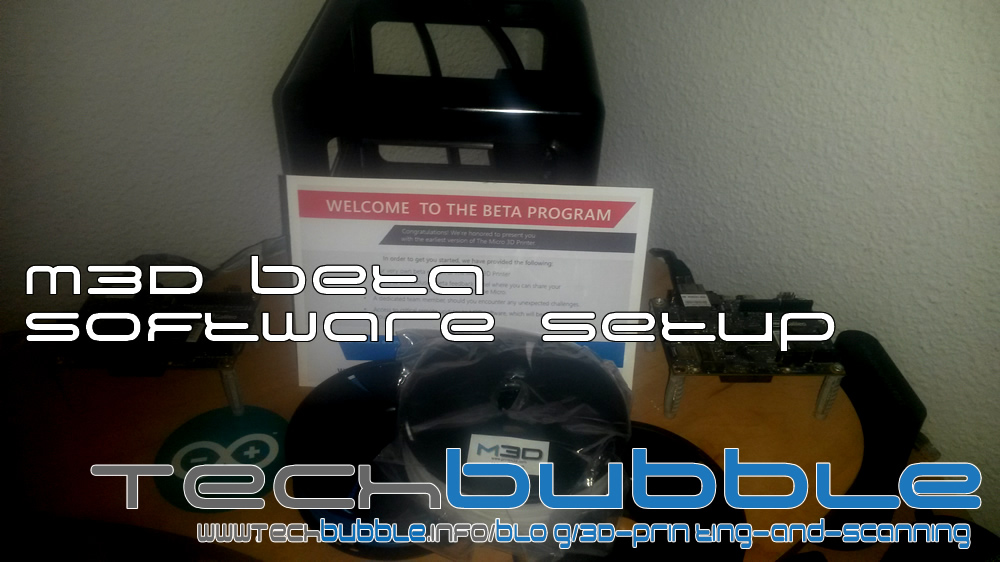
To get the printer a little bit faster I opted to swap to having a black printer without the engraving which sped up time and allowed the printer to be delivered just after Xmas. During the last week or so before the printer arrived I was looked after very well by Michael Armani and his team which made the extended wait that little bit easier, a big thanks to you guys for all your help and very happy to be the first person in Spain to have one of your units and be lucky enough to be part of the Beta Panel.
As part of the exclusive Beta Panel my responsibilities are to help identify bugs in the hardware and software and report back to the guys at M3D so that they can get the printer ready for production. The next article will focus on the actual printer and the first print I carried out which was a 3D print of the exact wrench that Nasa sent to ISS (The International Space Station). This article will focus on the setup of the software on a Windows PC and my first experiences with the M3D Beta Software.
Before the printer arrived I received an email from M3D which included a setup guide and download link for the official Beta Software. I downloaded the files and decided to wait till the printer arrived to do the setup. As soon as the printer arrived I took a break from a project I was working and dived head first into the setup.
The first stage was to fire up the executable provided in the download, the following steps we very easy and just required clicking next through the various install screens which installed the software and required drivers. The whole process took about 5 -10 minutes to complete and I was ready to fire up the software after a final .Net download and update which took a little longer.
Once the software opened I was very impressed with how easy to get around it was. Following the instructions provided with the printer I attached the unit to my IoT terminal and was able to get the printer ready and loaded in a few minutes after one more driver update.
The printer came with three spools of filament to use on projects and I loaded the blue filament to start with using the software which again was very easy to use. Once the filament was loaded it was time to test out the new printer, having taken an a very pleasing time of about 30 minutes to setup.
The first print I carried out was the exact wrench that Nasa sent to ISS as mentioned before. I will write another article shortly which will explain my experience with my first 3D print and the issues I came up against. I encountered a few problems along the way and am working with Michael and Beta Support to resolve the issues, I will share photos and the steps I took in my next article.
Again I would like to say a massive thanks to Michael Armani, Katie Otte, Erin Meadows and the rest of the M3D team for all the help and support before and after receiving the printer, I look forward to working more with the team and hope to become an integral part of helping getting the printers ready for world wide distribution. I will also be speaking more to the team about setting up as a distributer here in Spain so will keep you all up to date.